A Begginers Guide On Setting Up Your First Mailchimp Campaign
We tend to take email for granted, now do we? Even though we mostly see email as a relic of some different times where there was no alternative in the form of instant messaging or chat apps like there is today, email is still insanely important and most importantly: insanely popular. There’re over 205 billion emails sent and received every day. We use email for everything from personal communication, as a way to make a more “formal” message to someone, and most notably in business. There’s a lot of ways you can create a business email address, and you probably know that all brands have those.
Email certainly isn’t dead and is here to stay. One of the ways it’s keeping itself alive and better than ever are newsletters and other forms of email marketing. Be it keeping your customers updated with the newest sales or informing your readers that there’s a new blog post online, newsletters are really incredibly important and useful. The tool a lot of people think about first when someone says the word newsletter is probably MailChimp, and we’ll take you on a journey that will see you create your first successful Mailchimp campaign in no time.
Stop, stop! What are newsletters?
Think of newsletters as leaflets that are delivered to your virtual inbox, only they don’t list the things you don’t want to see. The newsletters you want to receive are chosen by you, and you can unsubscribe at any time, something we wish we could do in real life.
The contents range from updates about savings and other types of discounts at your favourite stores to updates about podcasts, blogs, and magazines that you follow and read. This way, your inbox becomes a hub for everything that interests you so you can get all the info you need about things you like in one place.
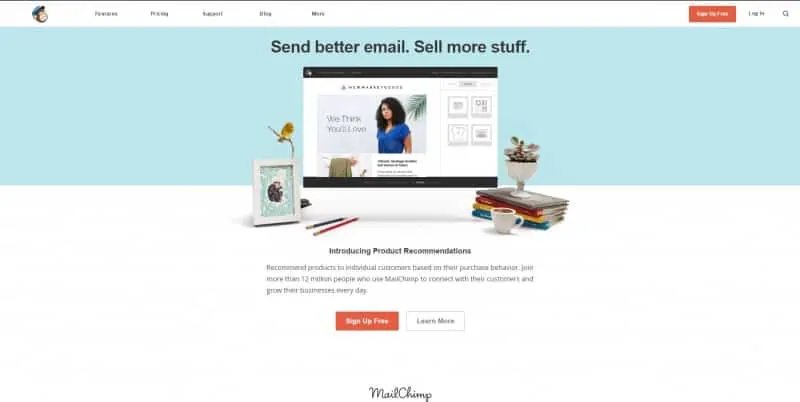
When you’re being on the other side of the newsletter, the creative side, your job is to create an engaging, interesting and engaging piece of work that helps your audience to engage with your brand. The easiest thing to do this is to use MailChimp, one of the world’s best email marketing tools. It’s an email service provider which helps marketers send bulk emails to clients, customers and other parties. Mailchimp is actually based on the three main tasks of email marketing: management of subscriber lists, building email campaigns and review of campaign reports.
The things you need are:
- A web browser
- A little bit of time
- Not much else
So once you get that out of the way, head down to Mailchimp.com and make yourself a free account.
Congratulations, you’re almost there!
Next up, lists!
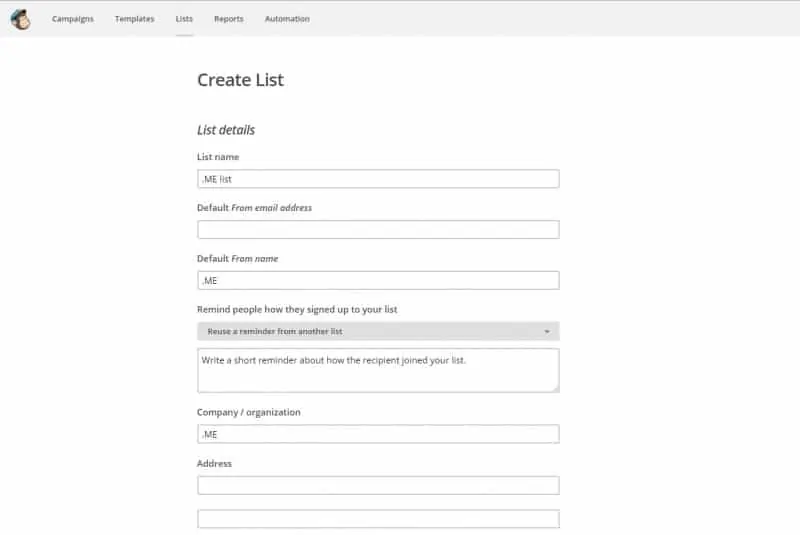
You see, once you enter the interface it might seem a little bit overwhelming at first, but it’s all pretty simple and straightforward so there’s no need for worries. The first thing you need to do once you’re in the web app is to make a list. The list is actually where all of your contacts are located, and the key to the success of a campaign lies in the quality of lists as well as the quality of the overall newsletter or another campaign.
You arrange your lists by clicking on the lists button on the top left of the screen, which takes you to a list creation interface where you fill out the basic info about the list, such as the default email address from which the list will be sent out and the default name that will appear in your customers’ inbox. After that, you’re all set to import contacts into your list, and you can do that in a couple of ways.
First, you can type in or paste the information about every subscriber. That’s pretty useful if there’s not a lot of people that you’re sending your emails to, so you can type a few addresses and move on with your design. The second option is the import of contacts from a spreadsheet such as a Google Sheets file, where you might have a lot of addresses written. The last idea is to import your subscribers from your CRM system. This is the most massive way since it allows you to import hundreds of addresses that are stored on your CRM in a few clicks.
Congratulations, now you have a list of subscribers!
That’s great and all, but you don’t want to keep those people waiting for your emails for much longer, so you need to start making a campaign.
Send out your first campaign
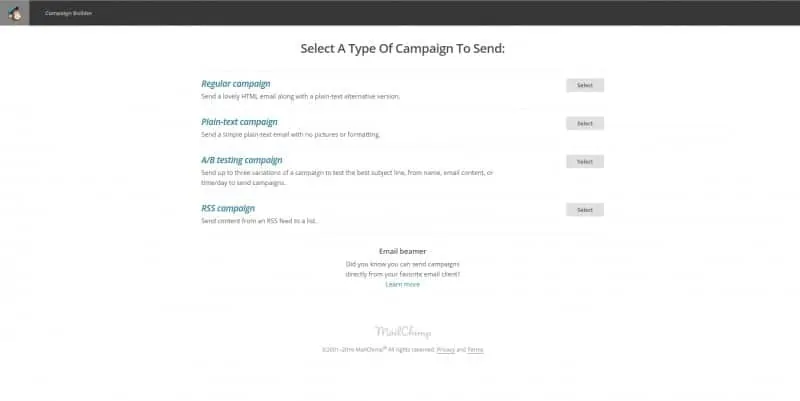
Campaigns are actually the emails themselves, and each campaign is a different email that is sent to a list (or lists) of your choice. You can choose between a regular campaign that consists of an HTML email along with a plain-text version, a simple plain-text campaign, an RSS campaign and an A/B testing campaign. You’re probably going to use the first option the most, so go ahead and give it a click.
On the next screen, find the list you’re going to be using and choose it, so you know what group of people will be receiving the emails you’re sending out. Next up is more forms and data to fill out, regarding the Email subject, From name, and From email address. You need those things to be as good as possible, so always try to have a clear and professional From name and email address, so that people who receive your email don’t mistake it as spam if it’s arriving from jack_funnyface@yahoo.com. That’s just a friendly piece of advice from us here at .ME.
This next part is where the fun begins. You can choose from a range of templates for your campaign, ranging from a single column to a double column email, or an entire spectrum of different ways to send information to people. You can also make a custom theme if you so desire.
Once you have that all figured out, it’s time to drag and drop those parts of the email!

You are simply looking at the way your email is going to look like on the left while being able to modify everything about it in the right column. Any text you write will automatically be available for you to see on the left so you can instantly preview how it’s going to look once it’s sent out into the world. It’s easy to get lost in this part of the process, as it’s easily the most amusing one and also the one that gives you the most creative control regarding your email. You can add buttons, photographs, dividers, social media links, customize fonts and colours and more, so you better spend a little more time doing that so that you don’t feel bad about your emails later on. Even if you do in some case feel bad, don’t. This is your first campaign, and there’s a lot of emails ahead of you.
Test first. Always.
Once you’re all set with everything, you can admire your work for a few minutes and then send a test email to your personal address so you know for a fact that everything is looking the way it should. We strongly advise you to do so just because it’s better to double check something while you can change it if it’s wrong. Accidental misclicks happen, and that’s why you have the test email to check up on everything one last time.
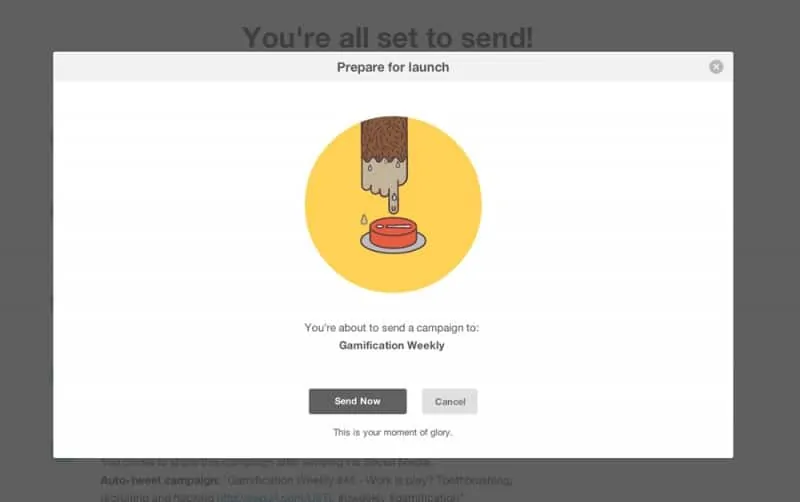
Once everything is ready, you can schedule your campaign or send it immediately. You’ll be greeted with an amusing animation of a monkey itching to press a big red button, and once you click send, the chimp will do the same.
And that’s all! It’s really hard not to make a guide too straightforward because Mailchimp is such a straightforward and easy tool, but we hope this helped you on your way to becoming an amazing email marketing expert.
And also, now that you know how important it is for businesses to gather subscribers, you should definitely give our big subscribe button a click, we’ll appreciate it a lot. Good luck on your email adventures, and don’t forget to have fun!
[conversion-boxes title=”Subscribe to .ME, it means a lot to us!” text=”” secret=”” button=”Subscribe”]